🏁 Getting Started - Your Day One Guide
🧩 1. Your New GitHub Account
- Create a new GitHub account here.
- Select 'Continue with Google' and login with your
@visualli.aiaccount. - Optionally, pick your GitHub username as
<firstname>-visualli' where possible (e.g.john-visualli`) - Reach out to one of your team members to grant you access to necessary repos.
🖥️ 2. Your Local Workspace
What is it?
code-space-local is a local development workspace based on Ubuntu Linux (and some runtime dependencies) that allows devs to work on Visualli.ai projects from anywhere in the world, without having to set up or configure their local development environment. All you need is a Windows (or) macOS computer.
Why?
- Faster to get started, as we aspire devs to be able to commit, submit and merge their PRs on their day-1️⃣ without any friction.
- OS and Version mismatch of dependencies between local and runtime environments is a common problem, and we want to avoid
it worked on my machineproblem by all means.
How?
Step-1: Start your workspace
- Use one of the below commands that boostraps required components (e.g. Docker Desktop, Remote Desktop Client, etc) and sets you up with a local development environment.
Windows
irm https://make.visualli.ai/bootstrap.ps1 | iex
macOS
curl -fsSL https://make.visualli.ai/bootstrap.sh | bash
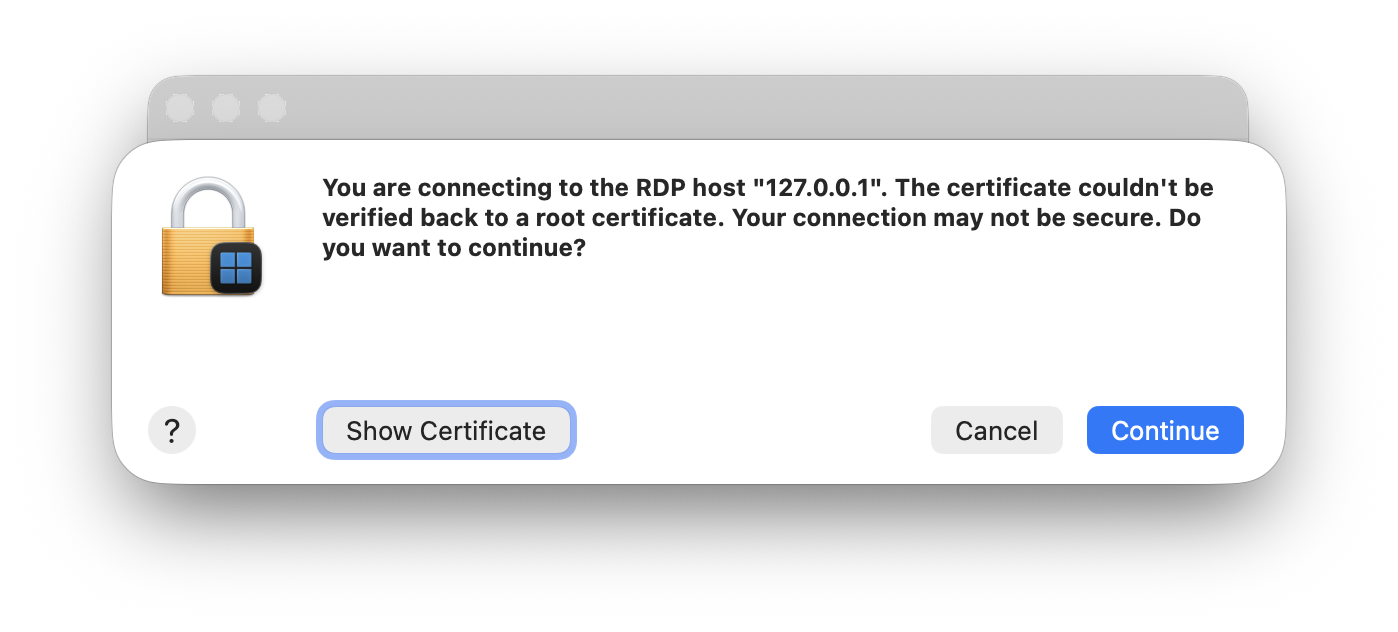
- Click 'Continue' to accept the RDP certificate.
Step-2: Login to your workspace
-
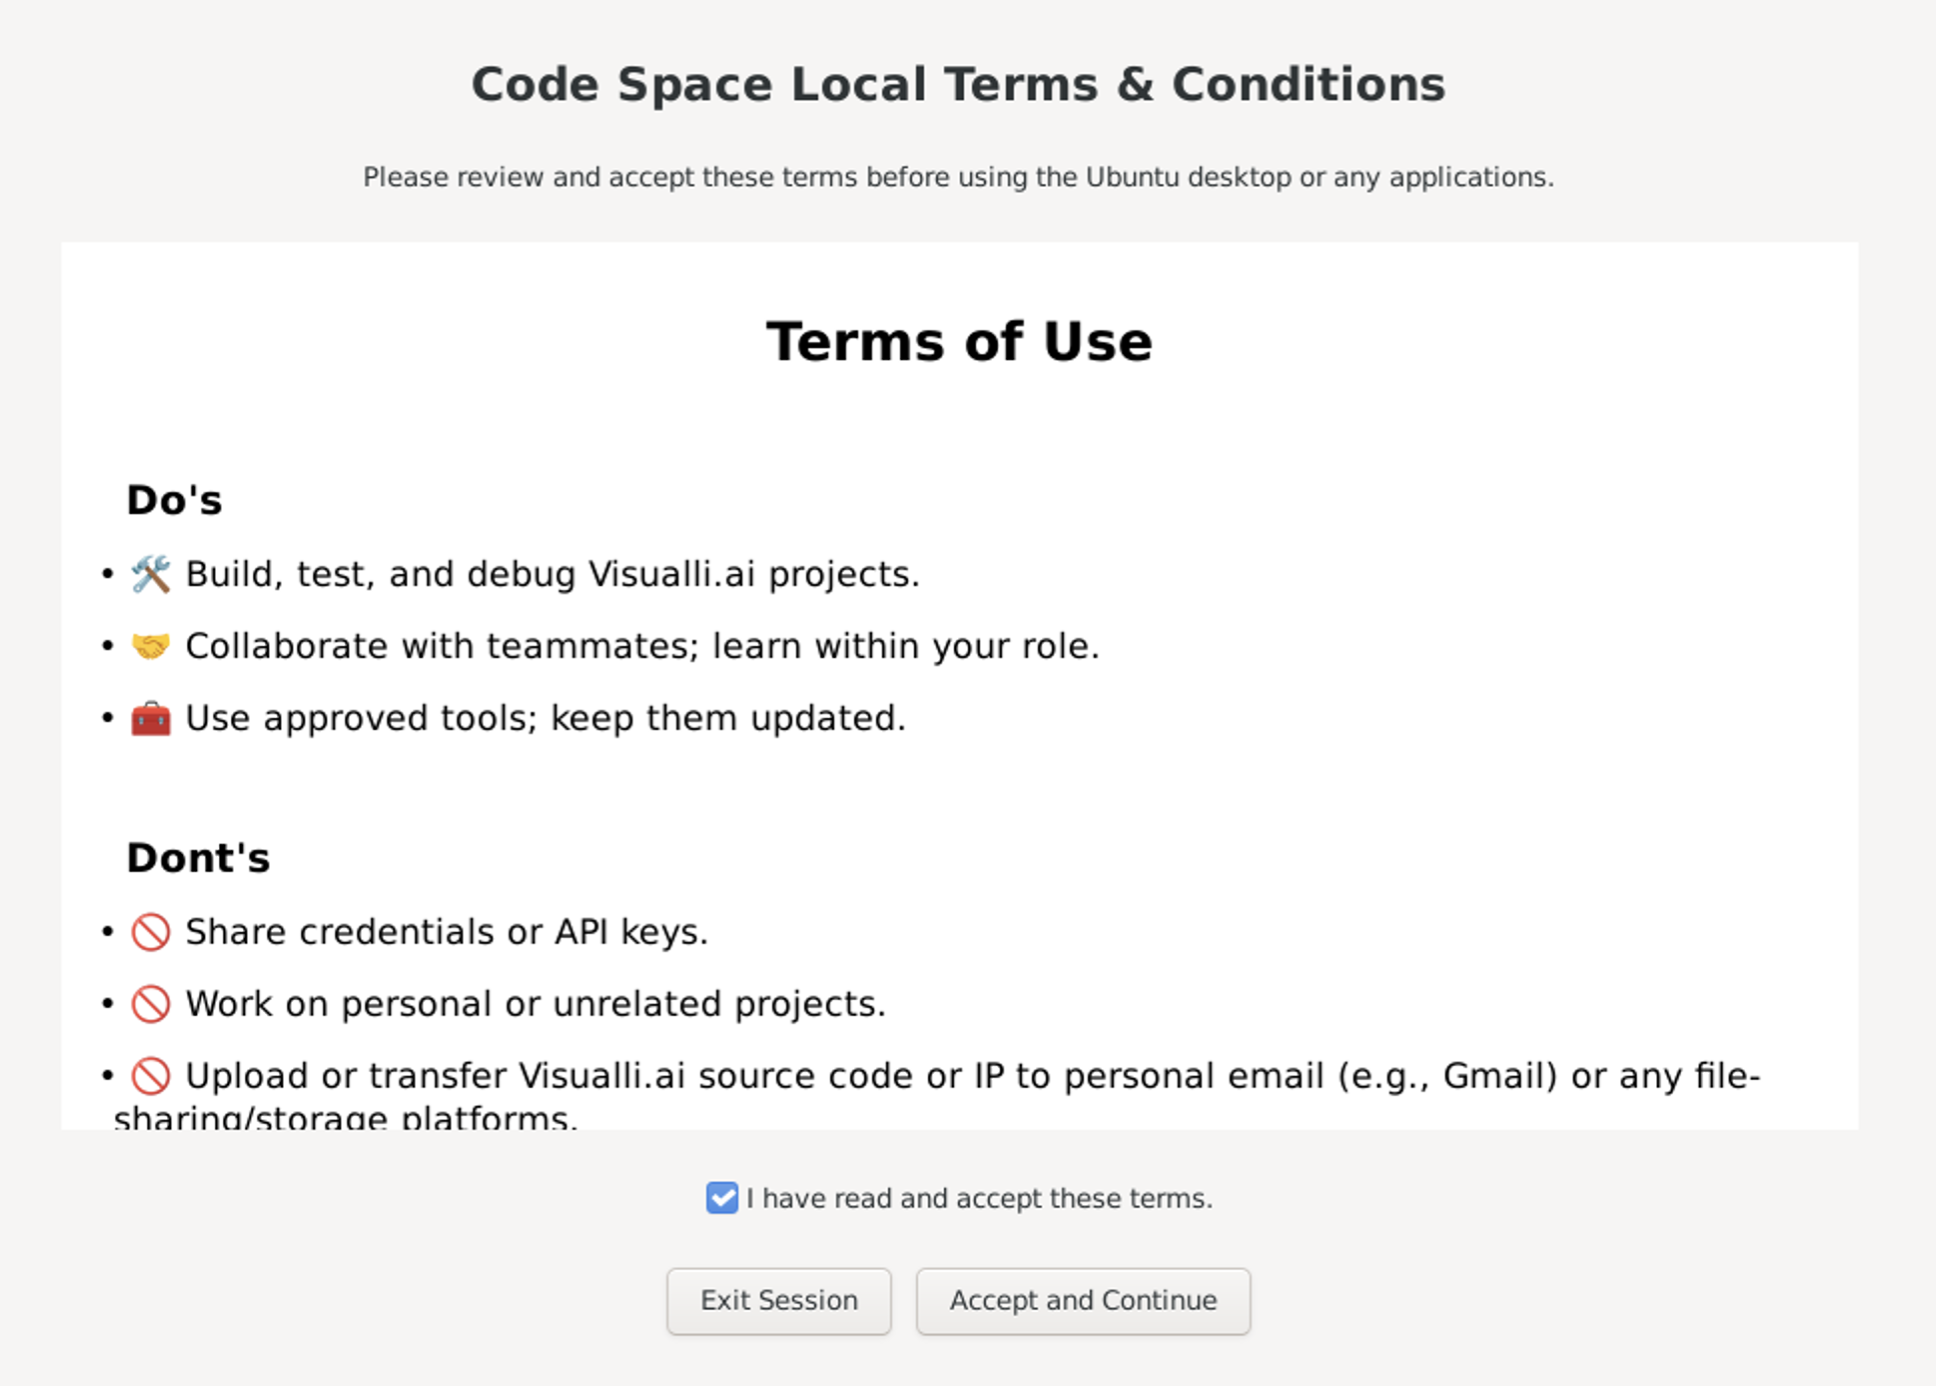
Accept the terms of use when prompted.
-
If prompted, use these default credentials to login.
- Username:
eyecon - Password:
code-space-local
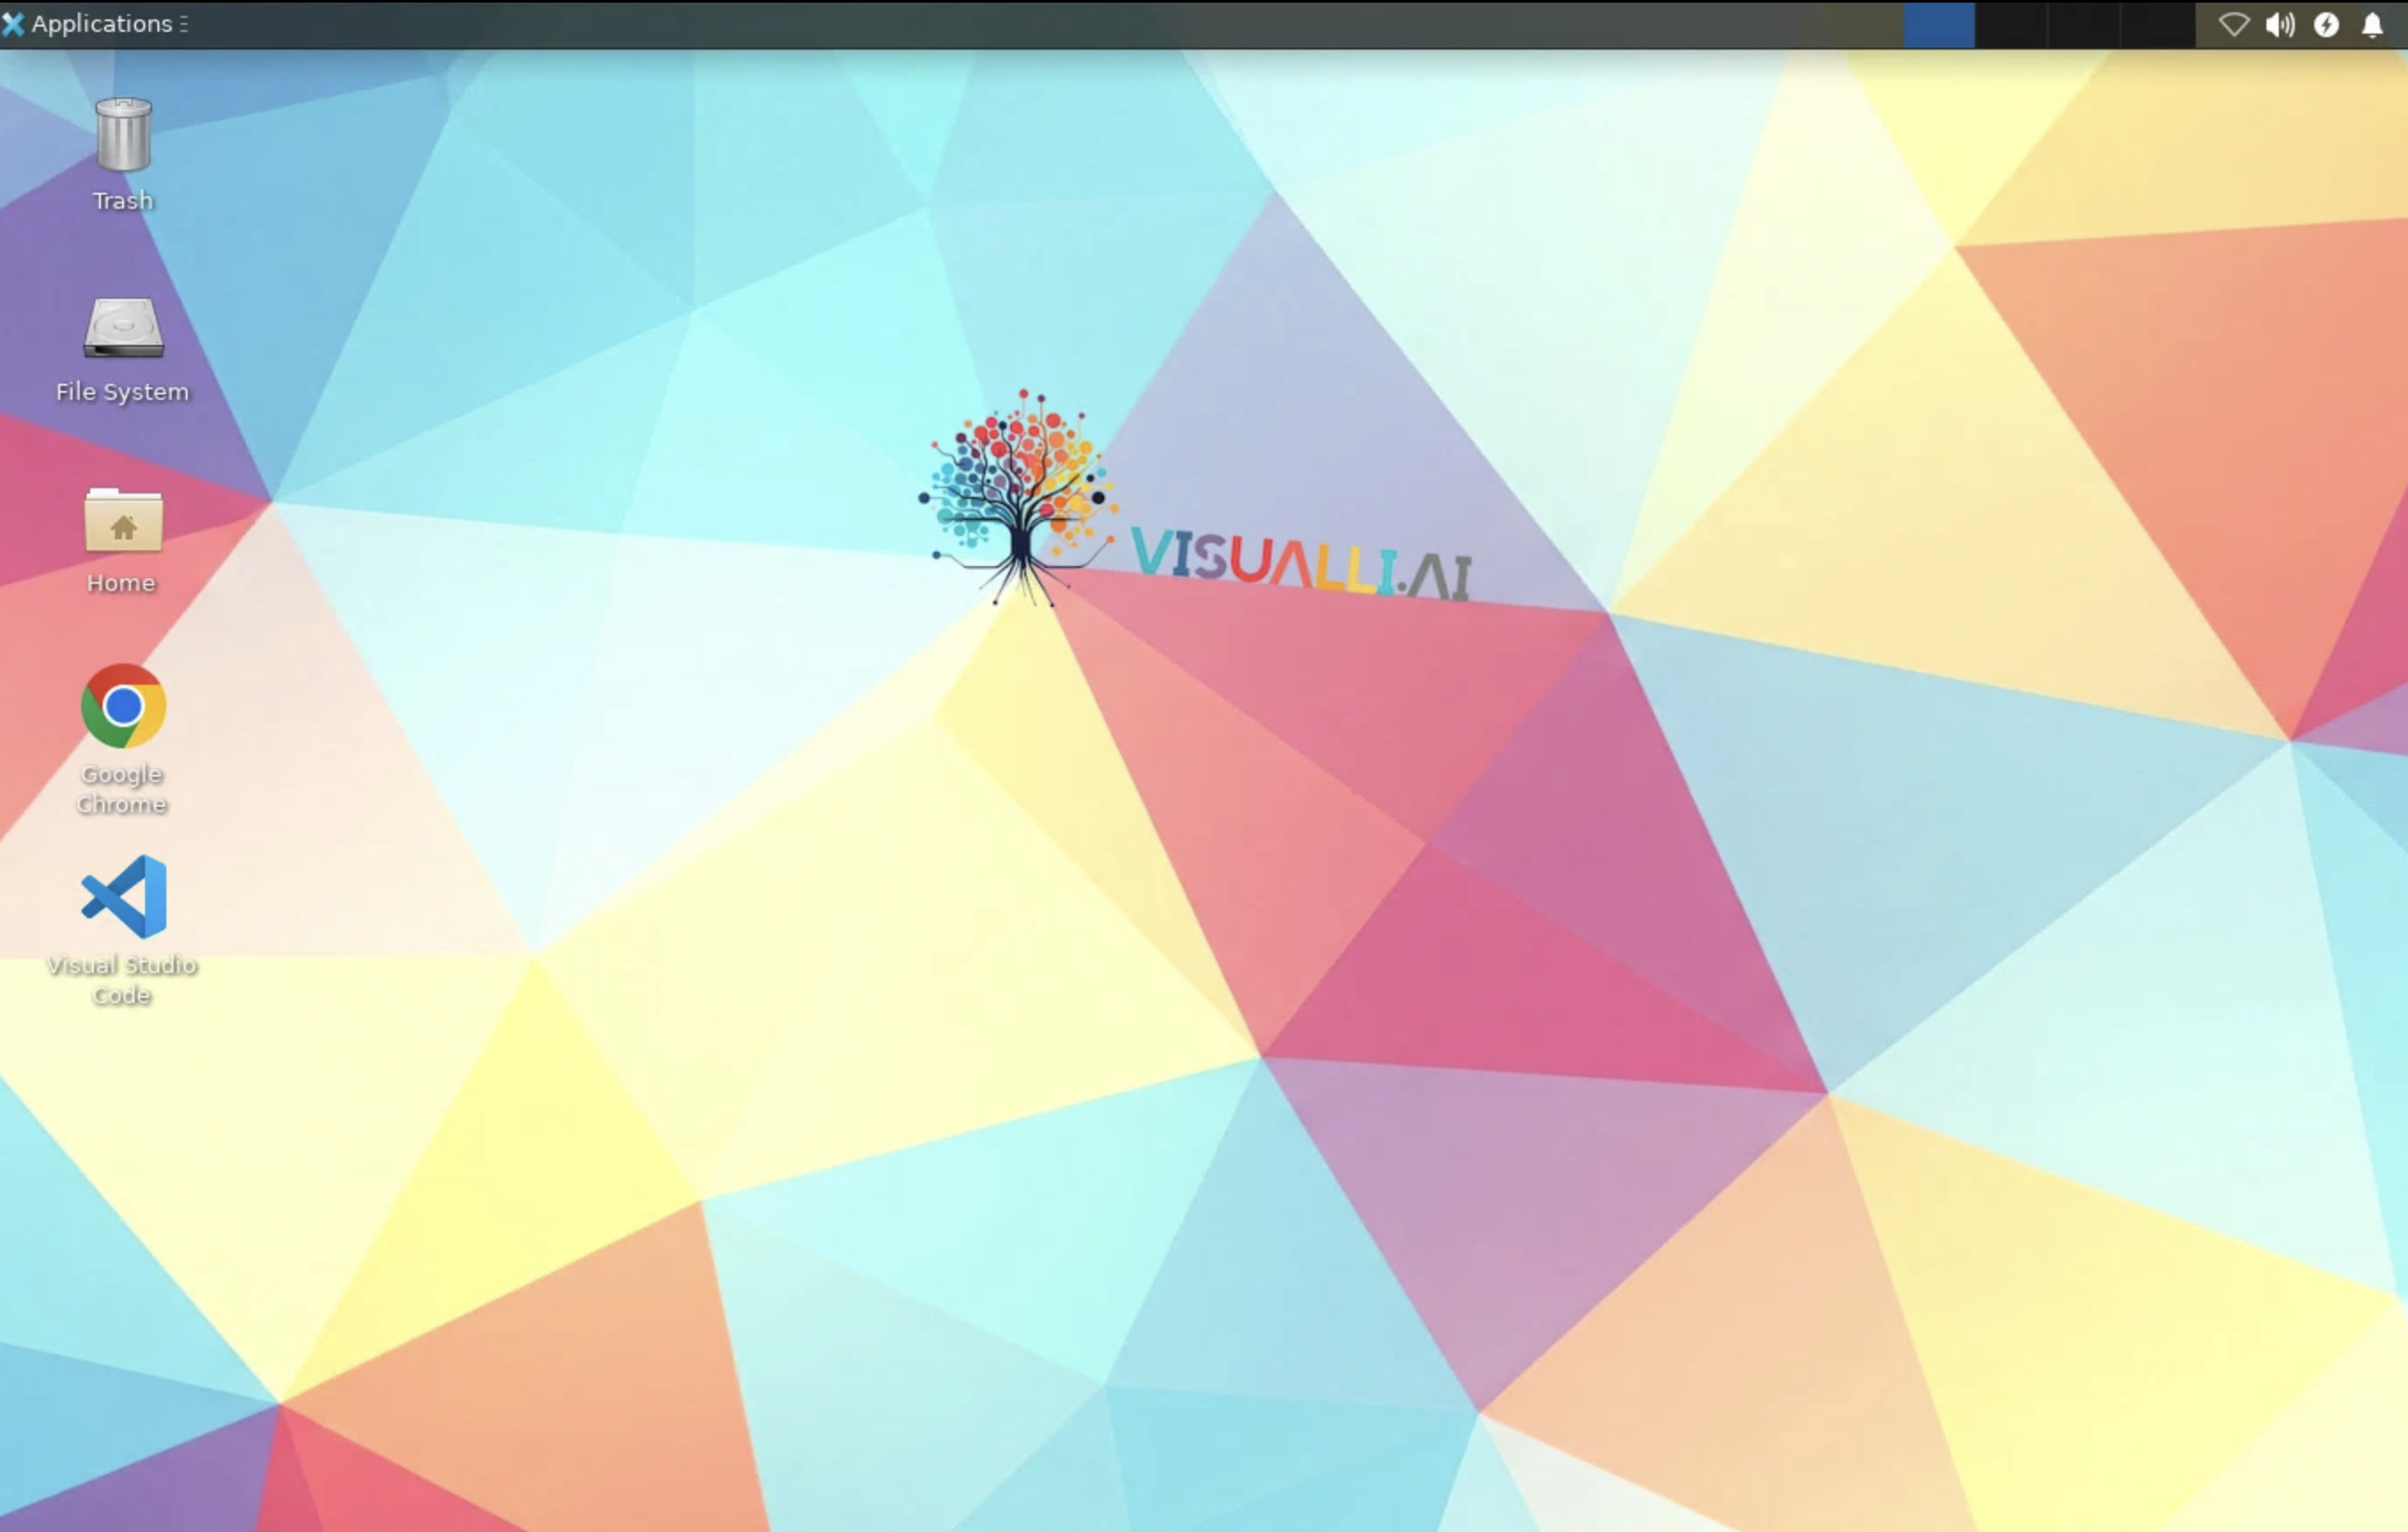
- Username:
Step-3: Open VS Code inside your workspace
- Open VS Code on the Ubuntu desktop.
- Select 'Sign in to use GitHub Copilot...' from the bottom left menu.
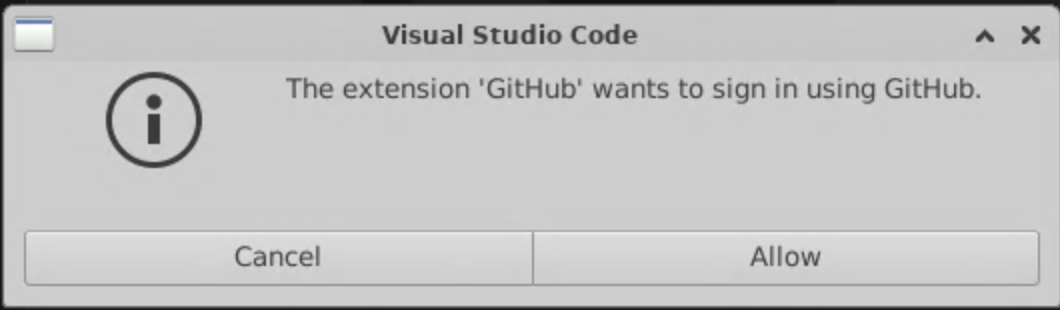
- Click on 'Continue with GitHub'
- Login using your
@visualli.aiemail. - Authorize Visual Studio Code to access your GitHub account.
Step-4: Clone repos
-
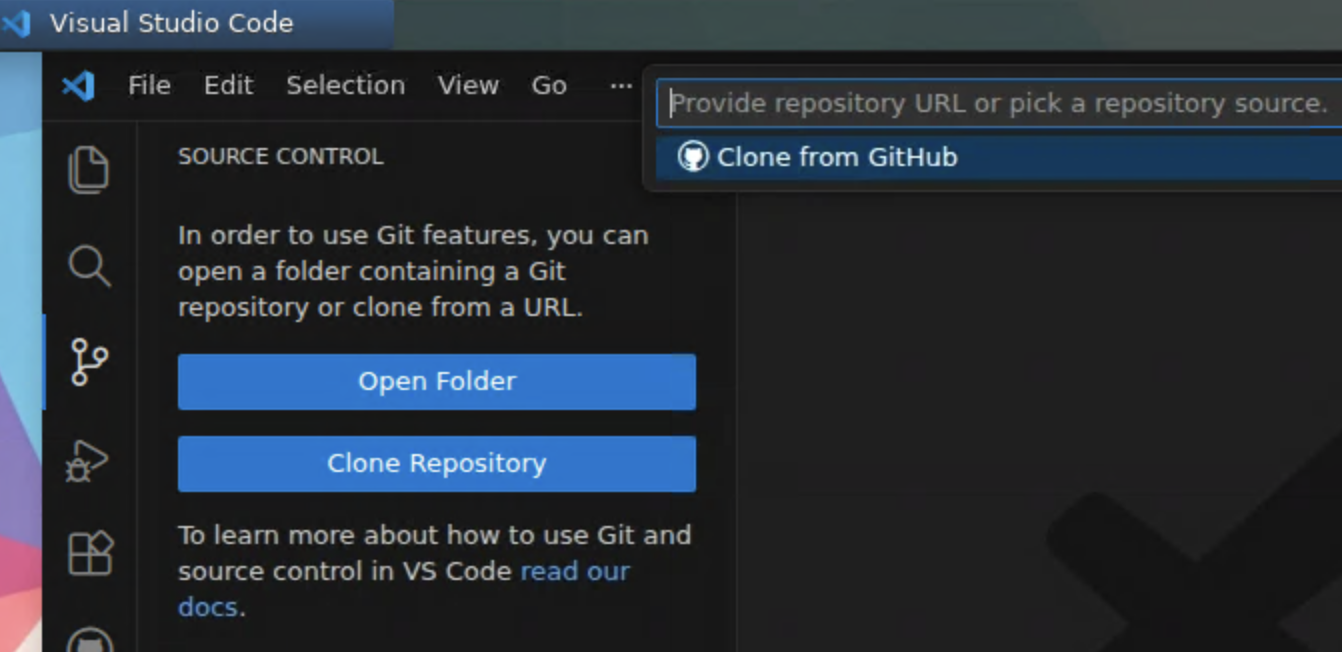
Open VS Code, and clone the following repositories as shown below:
-
visualli.ai -
https://github.com/visualli-ai/visualli.aiFull-stack repo of Visualli.ai (frontend, backend, official website, etc)
-
wiki.visualli.ai -
https://github.com/visualli-ai/wiki.visualli.aiRepo consists of the documentation for Visualli.ai (this wiki)
-
visualli-labs -
https://github.com/visualli-ai/visualli-labsRepo consists of all the experimental stuff for Visualli.ai
-
🔨 3. Branches & Workflows
Repo: visualli.ai
🔁 Branches
| Branch | Purpose | URL | Stability | Audience |
|---|---|---|---|---|
dev |
Developers’ playground | https://dev.visualli.ai | 🔴 Low | Visualli crew |
alpha |
Early access / bleeding edge | https://alpha.visualli.ai | 🟠 Medium | Select userbase |
beta |
Pre-release candidate | 🟡 High | Broad userbase | |
main |
Production release | 🟢 Very high | All users |
⁕ Flow
-
Create features & fixes:
- From
dev, create branches like:feat/login-redesignfix/image-upload-bugchore/version-upgrade
- From
-
Merge frequently to
dev(via PRs):- PR reviewed → merged into dev
devalways reflects "what we’re working on now"
-
Promote to
alpharegularly (via GitHub 'manual' Action):- Merge
dev→alpha(e.g., weekly or bi-weekly cadence) - Automated tagging & deployment of
alphaversions (e.g., v1.3.0-alpha.1)
- Merge
-
Stabilize for
beta - Cut
mainrelease
📦 Versioning
- Use Semantic Versioning: v1.2.3-alpha.1, v1.2.3-beta.2, v1.2.3
Repo: wiki.visualli.ai
🔁 Branches
| Branch | Purpose | URL | Stability | Audience |
|---|---|---|---|---|
main |
Primary branch for deployment | https://wiki.visualli.ai | 🟡 High | Visualli crew |
⁕ Flow
-
Direct push to
mainbranch, no features / no branches needed. -
When you are ready to deploy it via wiki.visualli.ai URL, follow the instructions inside
README.mdof this repository.
Repo: visualli-labs
🔁 Branches
| Branch | Purpose | URL | Stability | Audience |
|---|---|---|---|---|
main |
Developers’ playground | https://labs.visualli.ai | 🔴 Low | Visualli crew |
⁕ Flow
-
Direct push to
mainbranch, no features / no branches needed. -
When you are ready to deploy it via labs.visualli.ai URL, follow the instructions inside
README.mdof this repository.